Lightroom in 2026 is a different tool from the one most tutorials were written for. The AI masking, Generative Remove, and Assisted Culling features added in Lightroom Classic 15 have genuinely changed how editing works, and most guides online have not caught up. This article walks you through 7 techniques that reflect how Lightroom actually works today, with a focus on the AI-powered tools that save the most time. You’ll need an Adobe Creative Cloud subscription and Lightroom Classic 15 or the latest Lightroom desktop app to follow along.
Key takeaways
- AI subject masking in Lightroom 2026 selects people, skies, and objects in one click, replacing most manual selections.
- Generative Remove now uses object detection to remove distractions and shadows together, without using Firefly generative credits.
- Auto Dust Removal detects and removes sensor spots automatically, saving 10 to 20 minutes on any shoot with a dirty sensor.
- Colour grading with the HSL and Point Colour panels gives you precise, non-destructive control over individual colour ranges.
- Assisted Culling uses AI to flag sharp, well-exposed shots, cutting time spent sorting large shoots by half or more.
Step 1: Import and cull your shots with Assisted Culling
Before you touch an edit, Lightroom’s Assisted Culling feature can cut your sorting time significantly. In the Library module, select your imported folder and go to Photo > Assisted Culling. Lightroom analyses every frame for sharpness, exposure, and subject focus, then marks your best shots with green checkmarks and flags the rejects with red Xs.
The sensitivity slider lets you adjust how strict the tool is. For portraits, set it to Sharp Focus so Lightroom prioritises eye sharpness. For landscapes or street work, a softer threshold works better because motion and depth of field vary more.
Once culled, you’ll move into the Develop module with a cleaner, tighter set of images to actually edit. This alone changes the pace of a full editing session.
Step 2: Apply an adaptive profile before adjusting anything
Most photographers jump straight to the Basic panel. In 2026, the better starting point is your camera profile. In the Develop module, open the Camera Calibration panel and select an Adaptive Profile from the Profile Browser.
Adaptive profiles read the specific characteristics of your camera sensor and apply intelligent baseline corrections before you touch any sliders. The result is a more accurate starting point than the default Adobe Standard profile, especially on files from Sony, Fujifilm, and newer Canon bodies.
Once you have your adaptive profile applied, make your exposure and white balance adjustments in the Basic panel. You’ll find you need smaller corrections than usual because the profile has already done a lot of the heavy lifting. This pairs naturally with the colour grading work in Step 5.
Step 3: Use AI masking to target specific areas
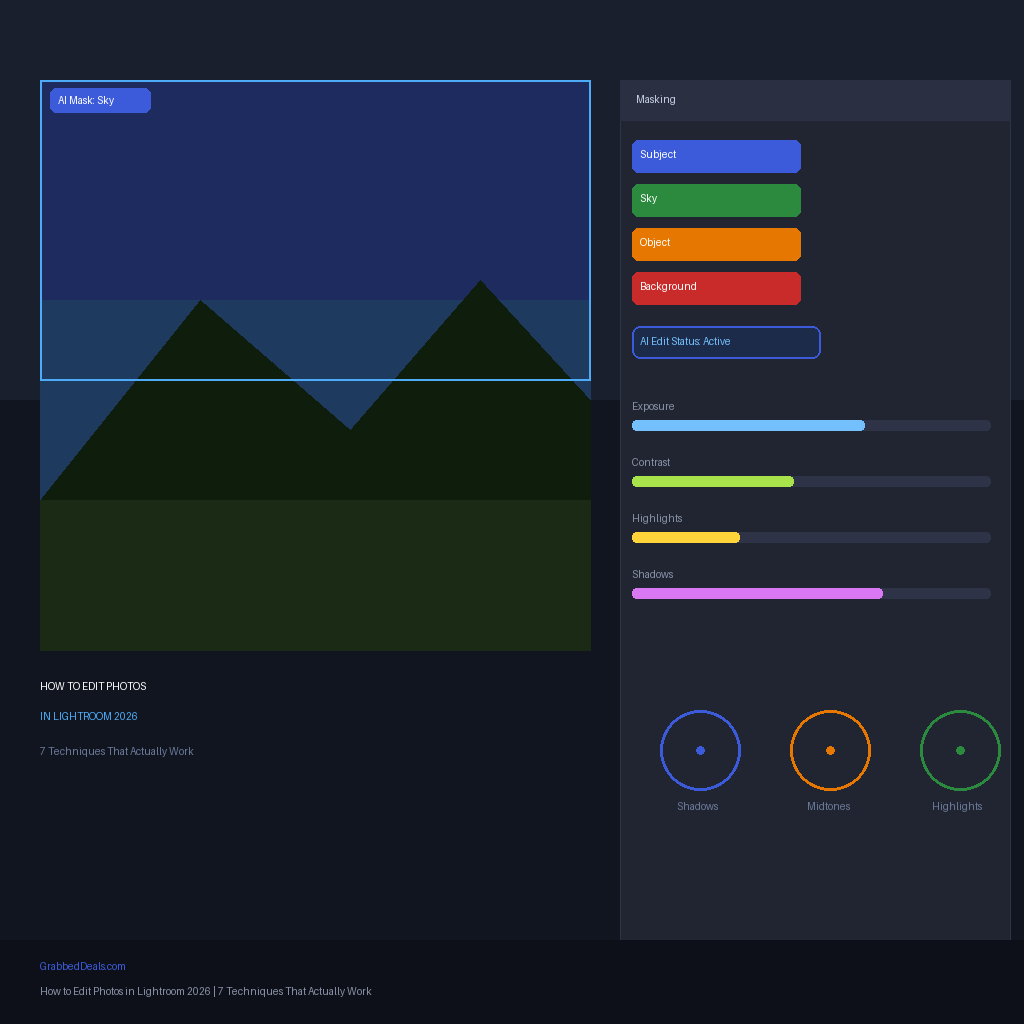
AI masking is where Lightroom 2026 pulls ahead of older workflows. In the Develop module, click Masking in the right panel, then choose Select Subject, Select Sky, or Select Object depending on what you want to adjust.
For portraits, Select Subject isolates the person (or multiple people) from the background in a single click. You can then apply targeted adjustments, sharpening, skin tone corrections, or dodging and burning, directly to the subject without touching the rest of the image. For landscapes, Select Sky picks out the sky layer precisely, including through complex tree branches and architecture.
The Object selection tool works by dragging a box around whatever you want to select. Lightroom detects the edges automatically. You can combine multiple masks using Add and Subtract options to build compound selections. The key upgrade in Lightroom Classic 15 is that all these AI edits now run in the background, so you can keep working while the selection processes.
Step 4: Clean up distractions with Generative Remove
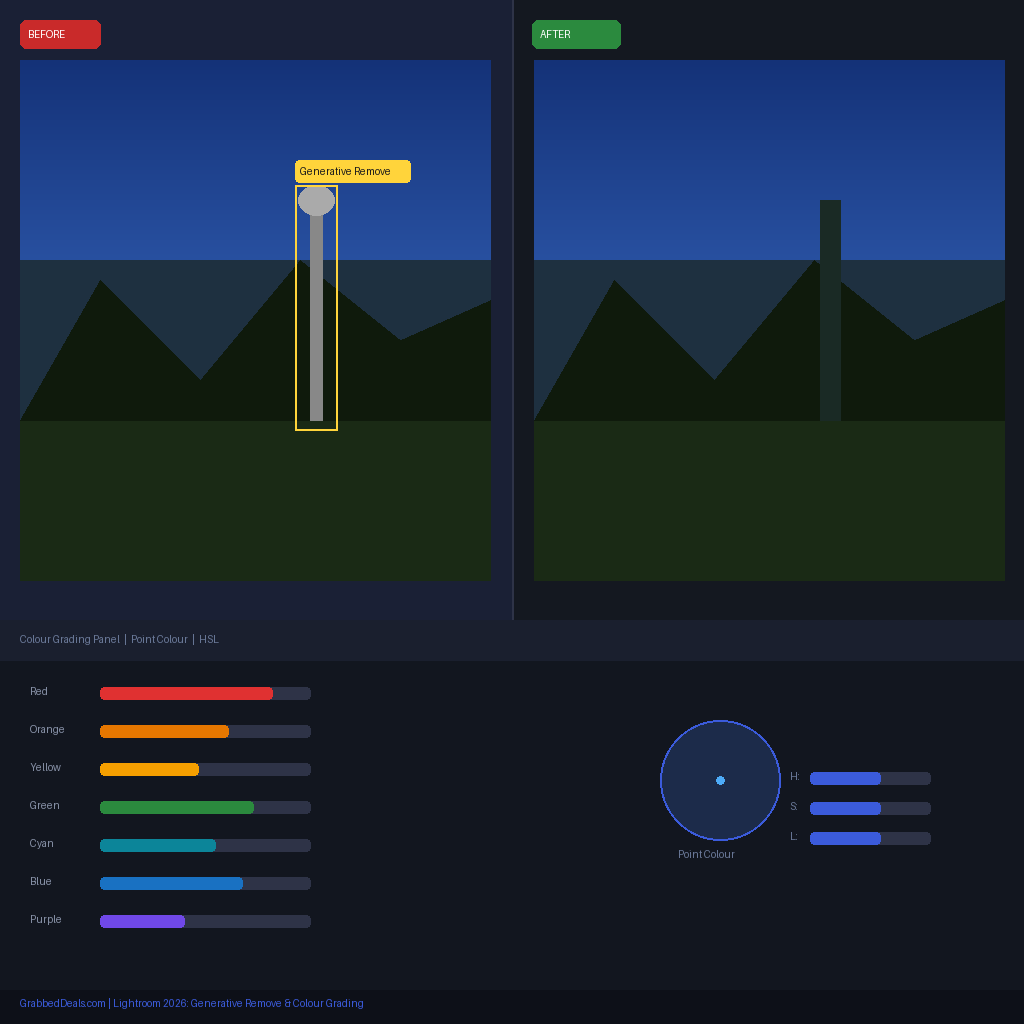
Generative Remove is the most practical AI tool Lightroom has added in years. In the Develop module, select the Remove tool from the toolbar. Switch the mode to Generative Remove and enable Detect Objects.
Draw a selection around whatever you want to remove, whether it’s a tourist in the background, a lamp post, a power line, or sensor dust. With Detect Objects turned on, Lightroom automatically extends the selection to include the shadow or reflection of the object, which is the part older versions of the Remove tool always missed.
The result is filled using AI trained on realistic textures and backgrounds. Importantly, this does not consume Adobe Firefly generative credits. You can use it as many times as you need without quota concerns.
For auto sensor spot removal, select the Remove tool, click Dust, and hit Apply. Lightroom scans the image automatically and removes every detected dust spot. It is worth doing this on every shot from a session before starting detailed edits. According to Adobe’s official Lightroom release notes, the Generative Remove and Distracting People Removal tools received speed improvements in the most recent updates, making them genuinely usable in a batch workflow.
Step 5: Colour grade with HSL and Point Colour
The Basic panel gets your exposure and white balance in the right zone. For deliberate, creative colour, you need the HSL and Point Colour panels.
In the HSL panel, you can shift the hue, saturation, and luminance of individual colour ranges independently. To target a specific colour, click the little target icon at the top left of the panel, then drag up or down directly on that colour in your image. Lightroom identifies the exact HSL range and adjusts it in real time.
Point Colour, introduced in Lightroom Classic 14 and refined in v15, takes this further. You sample a specific colour from your image, then adjust just that sampled colour using hue, saturation, luminance, and a new Variance slider that controls how much of the colour family is affected. This is the cleanest way to correct specific colours, like making a sky bluer without touching cyan reflections in water, or cooling skin tones without shifting the rest of the frame.
For reference on industry-standard colour grading benchmarks, Adobe’s own colour science documentation provides a useful technical foundation for understanding HSL ranges.
Step 6: Denoise, sharpen, and apply Super Resolution
Lightroom’s AI-powered Denoise tool has been available since Lightroom Classic 13, and it remains the best one-step noise reduction in any desktop editing tool. Go to the Detail panel and click Denoise. Lightroom processes the RAW file using an AI model trained on millions of images. The result preserves detail while removing colour and luminance noise at a level the old Noise Reduction sliders could never match.
After denoising, sharpen using the Amount and Masking sliders in the same Detail panel. Hold Alt (Option on Mac) while dragging the Masking slider to see a black-and-white overlay, with white areas showing where sharpening is applied. Drag until only your subject edges are white, protecting flat sky and skin tone areas from over-sharpening.
If you need to produce a larger output file, say for print, select Photo > Enhance > Super Resolution. Lightroom quadruples the pixel count using AI interpolation, producing a file that holds up at significantly larger print sizes than the original.
Step 7: Export with Content Credentials
The final step most photographers skip is the one that matters for the future of digital photography. Lightroom Classic 15 introduced Content Credentials, which lets you attach a verifiable digital signature to every exported JPEG.
To use it, go to File > Export, scroll to the Metadata section, and enable Content Credentials. Add your name, your social handle, and optionally a list of the edits applied. The signature is embedded invisibly in the JPEG and is verifiable through Adobe’s Content Authenticity Initiative tools and compatible platforms.
This is increasingly relevant in 2026 as platforms start to prioritise verified original images in search and social feed algorithms. It is also a useful protection against AI-generated image misattribution. According to the Content Authenticity Initiative, more than 3,000 organisations now support the CAI standard, including major news agencies and social platforms.
Once exported, your images carry a transparent record of who shot them and what was edited, which is a meaningful differentiator for professional and editorial photographers.
Final verdict
Learning how to edit photos in Lightroom in 2026 means learning two things at once: the fundamentals that have always mattered, and the AI tools that have genuinely changed the workflow. The 7 techniques above cover both. If you are new to Lightroom, start with Steps 1, 2, and 5 to build a solid foundation. If you’re experienced and just need to catch up, Steps 3, 4, and 7 cover the AI-specific additions that most tutorials have not addressed yet. Either way, Lightroom Classic 15 is the strongest version of the software Adobe has shipped, and it rewards photographers who take the time to learn what has actually changed.
Want to take your photography further? Read our guide to the best cameras for beginner photographers in 2026 to find the right gear to match your new editing skills.
Frequently asked questions
Is Lightroom free to use in 2026?
Lightroom is not free. It is available as part of Adobe’s Creative Cloud Photography Plan, which starts at around £9.98 per month and includes Lightroom, Lightroom Classic, and Photoshop. A free 7-day trial is available. There is also a basic free version of Lightroom mobile with limited features, but the AI tools covered in this guide require the paid plan.
What is the difference between Lightroom and Lightroom Classic in 2026?
Lightroom (formerly known as Lightroom CC) is cloud-based and syncs across all your devices. Lightroom Classic stores files locally and offers more advanced organisational and export tools. For professional workflows, Lightroom Classic 15 is the more capable option. Most of the AI features covered in this guide are available in both, with Classic generally receiving updates first.
Does Generative Remove use Firefly credits in Lightroom 2026?
No. Generative Remove in Lightroom Classic 15 does not consume Adobe Firefly generative credits, even though it uses AI to fill removed areas. You can use it as many times as needed within a session or across multiple sessions without hitting any usage limit.
How do I edit photos in Lightroom 2026 on a slow computer?
Lightroom’s AI features are GPU-accelerated in the latest version, so a dedicated graphics card helps significantly. For slower machines, enable GPU acceleration in Preferences > Performance. The background AI processing introduced in Lightroom Classic 15 also means the app stays usable while heavy tasks like Denoise and Generative Remove process, rather than locking up the interface.
Can I learn how to edit photos in Lightroom 2026 without any photography background?
Yes. Lightroom’s AI tools in 2026 lower the barrier to good results significantly. Assisted Culling handles sorting, AI masking handles selections, and adaptive profiles give you a strong starting point without knowing anything about colour science. Start with the Presets panel in the Develop module for instant results, then work through the techniques in this guide to understand what each adjustment actually does.
Author: The GrabbedDeals editorial team tests and reviews tech across every major category, from smartphones and laptops to AI tools and smart home devices. Our buying guides are built on the latest real-world data, independent expert reviews, and current pricing.
Explore our more pages – AI Tools & Productivity | Education & Learning | Travel | Smartphone Ecosystems | Laptop & PCs | Audio & Sound Systems | Gaming & Photography | EV & Green Tech | Digital Marketing & SEO | Smart Tech Deal & Buying Guides